
Right now, wherever you are sitting—whether it is on a plush living room sofa or a hard dining room chair—I want you to try one simple test. Cross your arms tightly over your chest and try to stand up.
Did you hesitate? Did you fail to lift off? Did you have to aggressively jerk your upper body forward just to get enough momentum? Or did your hand instinctively shoot out to grab the nearest armrest to push yourself up?
If you paused for even a fraction of a second, I need you to listen closely. That isn’t just end-of-the-day fatigue. It is the very first, critical warning sign that your legs are slowly failing to support your own body weight. Walking the beautiful trails here in Elk Grove, California, I constantly see vibrant, active seniors suddenly slowing down, not because they lack willpower, but because they’ve lost trust in their legs. Today, you rely on the armrest. Tomorrow, it might be a cane. And the day after that, you risk becoming a prisoner in your own home simply because you are too afraid of tripping to step outside.
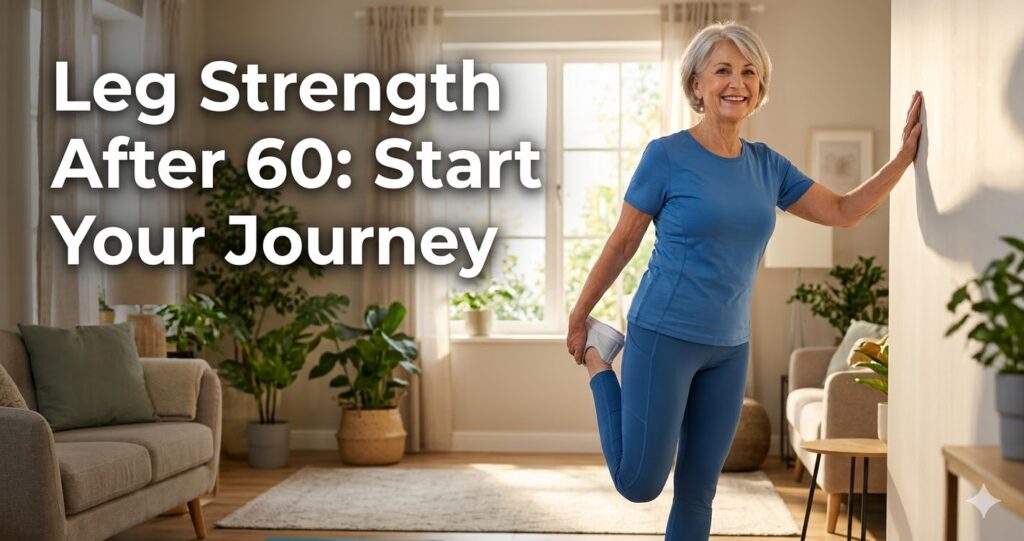
But here is the incredibly positive news: this process is entirely reversible. We are not talking about seeing results in a year; we are talking about starting the transformation today. In this comprehensive guide, we are going to walk through a highly effective routine that will wake up the deep, dormant muscles in your legs and bring unshakeable confidence back to every single step you take. No heavy weights, no expensive gym memberships—just you, your living room, and a commitment to your active lifestyle.
The Foundation: Why Leg Strength Dictates Your Freedom
Maintaining an active lifestyle as a senior is not just about having the time to travel or pursue hobbies; it is fundamentally about mobility. According to the Centers for Disease Control and Prevention (CDC), falls are the leading cause of fatal and non-fatal injuries among older adults. But falls are not an inevitable part of aging—they are a symptom of declining muscle mass and poor balance.
When we lose leg strength, our gait changes. We stop taking confident strides and begin to shuffle. This shuffling drastically increases the risk of catching a toe on a carpet edge or an uneven sidewalk. By targeting the calves, hamstrings, and glutes, we act as our own mechanics, fine-tuning the engine that drives our independence.
Phase 1: The Essential Engine Warm-Up
We would never start a car in the dead of winter and immediately push it to 70 miles per hour on the California freeways. We let the engine warm up. Your joints require the exact same respect. Before we build strength, we must lubricate the joints to prevent injury and ensure a fluid range of motion.
Warm-Up 1: Restorative Knee Circles
Stand tall with your feet close together. If you feel you need extra stability, gently place your hands on your knees.
- The Movement: Bend your knees into a very slight dip. Keep your heels anchored to the floor if you can. Now, imagine you are drawing a smooth circle on the ground with your kneecaps.
- The Goal: Perform 10 slow, controlled rotations in one direction, then reverse for another 10.
- Expert Tip: Listen to your body. If you hear a light clicking or popping without pain, that is simply trapped gas escaping the joint capsule. Visualize the natural synovial fluid coating and protecting your cartilage.
Warm-Up 2: Lying Ankle Pumps for Optimal Circulation
Get comfortable on a yoga mat, or do this right in your bed when you wake up. This movement actively targets the calf muscles, which act as a secondary heart, pumping pooled blood from your lower extremities back up.
- The Movement: Lie flat on your back with your legs straight. Imagine you are in the driver’s seat of a car. Press the imaginary “gas pedal” down with your right foot while simultaneously pulling your left toes back toward your shin.
- The Rhythm: Switch back and forth smoothly. Push with the right, pull with the left. Find a steady tempo.
- The Result: You should feel a slight, pleasant tingling sensation in your lower legs. This is fresh, highly oxygenated blood rushing into the muscle tissues, prepping them for the work ahead.
Phase 2: The Core Strengthening Routine
Now that the muscles are warm and flooded with oxygen, it is time to stimulate real growth. You are about to become your own gym machine using nothing but leverage and gravity.
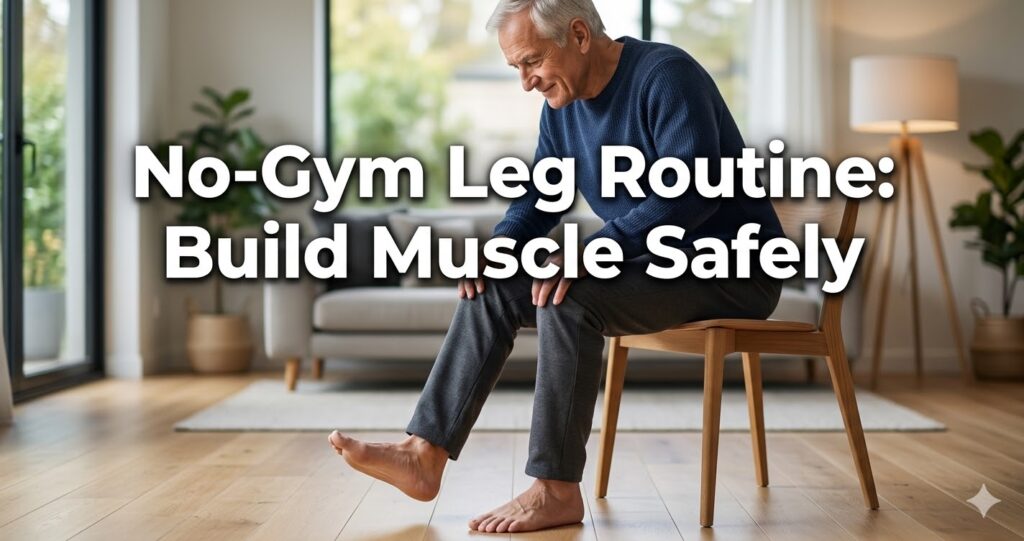
Exercise 1: The Seated Calf Pump with Forward Lean
Sit on the very edge of a sturdy, armless chair. Keep your feet flat on the floor, spaced about shoulder-width apart, ensuring your knees form a perfect 90-degree angle.
- The Secret Technique: Lean your upper body forward, resting your forearms heavily on your thighs just above the knees. By doing this, you are transferring the weight of your torso directly onto your legs.
- The Action: Lift your heels as high off the floor as possible, pushing forcefully onto your toes. Squeeze the calf muscle aggressively at the peak of the movement, hold for a split second, and lower with extreme control.
- Repetitions: Aim for 12 slow repetitions. Do not bounce; let the muscle do the heavy lifting.
💡 Quick Rescue: 3 Life-Saving Tips for Leg Cramps If you are terrified of calf exercises because of brutal nighttime “charley horses,” keep these three rules in mind:
- Electrolyte Hydration: Plain water isn’t enough. Add a tiny pinch of sea salt to your water or eat a potassium-rich banana to keep muscle electrical signals firing correctly.
- The Magnesium Miracle: Many seniors are deficient in magnesium. A high-quality magnesium supplement or a topical magnesium oil spray before bed can be a game-changer. (Always consult your physician first).
- The Emergency Stop: If a cramp strikes mid-exercise, immediately stop, lock the leg straight, and aggressively pull your toes back toward your nose to manually break the muscle spasm.
Exercise 2: The Wall Hip Hinge
Find a clear section of a sturdy wall. Stand facing it, roughly two feet away. Place your palms flat against the drywall at about eye level.
- The Movement: With a tiny “micro-bend” in your knees (do not squat!), push your hips backward toward the center of the room. As your hips hinge back, your chest will naturally lower.
- Crucial Form: Look directly at the floor, not at the wall. This protects your cervical spine. You will feel a deep, engaging stretch in your hamstrings. Squeeze your glutes (buttocks) to power yourself back up to a standing position, rising slightly onto your toes at the top.
- Repetitions: Perform 8 to 10 reps. Remember, the movement comes entirely from hinging the hips, not from bending your lower back.
Exercise 3: Wall Marching for Core Stability
Step slightly back from the wall so your body is resting at a mild angle, resembling a standing plank.
- The Movement: Alternately drive one knee up toward your chest as high as comfortably possible. Hold it at the apex, then smoothly lower it.
- The Upgrade (Crossover): To engage the deep abdominal muscles—which are vital for fall prevention—direct your right knee diagonally toward your left shoulder, and vice versa.
- Repetitions: 6 to 10 reps per leg. Keep your neck long like a giraffe; do not slouch.
Exercise 4: Standing Hamstring Curls
This is arguably the most critical movement for preventing tripping over uneven pavement or thresholds.
- The Setup: Hold the back of a sturdy chair for balance. Transfer your body weight onto your left leg.
- The Rule: Keep both knees glued side-by-side. They must remain on the exact same line.
- The Movement: Bend your right knee, pulling your heel up toward your glutes. Squeeze the back of your thigh, hold for a second, and lower with resistance.
- Mistakes to Avoid: Do not let the working knee drift forward, and do not bend at the waist. Stand incredibly tall.
Exercise 5: The Coordination Clap March
Note: If you suffer from vertigo or severe balance issues, skip this and consult a physical therapist first.
- The Movement: Stand near a wall for emergency support. Stand proud, shoulders pulled back. Slowly lift one thigh until it is parallel to the floor. As the leg rises, reach both hands under that thigh and execute a single, crisp clap. Lower the leg and arms with total control.
- The Focus: Always look straight ahead. The moment you look down at your hands, your vestibular system gets confused, and you will lose your balance.
Phase 3: The Missing 30% — Critical Muscle Nutrition
You have just completed the physical stimulus. That is 70% of the battle. However, if you ignore the remaining 30%—your nutrition—you are effectively throwing all your hard work out the window.
As we age, our bodies develop a condition known as anabolic resistance. This means a 65-year-old body requires significantly more protein than a 25-year-old body just to maintain the exact same amount of muscle mass.
The Senior Protein Formula
Experts generally recommend consuming between 0.5 and 0.7 grams of protein per pound of body weight (approx. 1.2 to 1.5g per kg). For an average adult, you should be targeting roughly 90 to 100 grams of high-quality protein every single day.
Your Daily Muscle-Building Grocery List:
- Pasture-Raised Eggs: The absolute gold standard. The yolk contains essential nutrients that dramatically improve muscle signaling.
- Greek Yogurt: Packs double the protein punch of traditional, watery yogurts.
- Wild-Caught Salmon & Tuna: Loaded with Omega-3 fatty acids that actively reduce joint inflammation and speed up muscle recovery.
- Lean Poultry: Chicken and turkey are incredibly efficient muscle builders.
- High-Quality Protein Powder: The most convenient way to hit your daily macro goals without feeling overstuffed.
Furthermore, your muscles literally cannot contract without Calcium, and Calcium cannot be absorbed without Vitamin D. If you are deficient in Vitamin D, your legs will feel heavy and weak, regardless of how many calf raises you do. Get outside in the sun, eat fatty fish, and speak with your doctor about a D3 supplement.

Putting It All Together: Your Weekly Action Plan
Consistency is the ultimate secret weapon. I want you to commit to performing this routine just three times a week—perhaps Monday, Wednesday, and Friday. Allow your muscles a full day of rest in between to repair and grow stronger.
If you show up for yourself, the changes will be undeniable. In two weeks, that deep armchair will be much easier to escape. In a month, the stairs in your home won’t look like a daunting mountain. And in three months? You will be striding down the street with a level of confidence that might just surprise you.
Your active lifestyle isn’t behind you; it is waiting for you to take the very next step. Stay strong, keep moving, and reclaim your independence.
💡 자주 묻는 질문 (FAQ)
Q1: How often should a senior do these leg strengthening exercises to see real results without overtraining?
A1: For optimal results and safety, seniors should perform this routine three times a week (e.g., Monday, Wednesday, Friday). This schedule provides the necessary physical stimulus to build muscle while allowing a full 48 hours of rest in between sessions for the tissue to repair, heal, and grow stronger, effectively preventing joint fatigue.
Q2: I frequently experience sharp leg cramps at night. Is it still safe for me to perform the calf pump exercises?
A2: Yes, it is safe, provided you take preventive measures. Muscle cramps in seniors are often linked to dehydration or mineral deficiencies. Ensure you are drinking water with a pinch of electrolytes (sea salt or potassium) and consider adding a magnesium supplement to your diet. If a cramp occurs during the exercise, stop immediately, straighten the leg, and pull your toes toward you to break the spasm.
Q3: Why do I need to consume so much protein if I am just doing light bodyweight exercises at home?
A3: Due to a natural aging process called anabolic resistance, older adults process dietary protein less efficiently than younger people. Even with light home exercises, your body requires roughly 90 to 100 grams of daily protein to successfully repair muscle micro-tears and build the new tissue required to support your joints and improve your daily mobility.
🌿 Weekly wellness, health & beauty insights — straight to your inbox
Free subscription · Cancel anytime


